
1. Get official OLGR site number
Login the VEQLD portal and head to https://portal.veqld.scantek.cloud/site-lookup
Search by venue name and press search.
If no results are found alter filters.
2. PLEASE NOTE: TIMEZONE CONFIG - When you have to set the timezone for the venue please use one of the following:
Australia/Adelaide
Australia/Brisbane
Australia/Broken_Hill
Australia/Darwin
Australia/Eucla
Australia/Hobart
Australia/Lindeman
Australia/Lord_Howe
Australia/Melbourne
Australia/Perth
Australia/Sydney
Onboarding OLGR Venues - CS Side
Alert: Alert! This process can begin once you have received the account form
Logging into your Provisioner / Tenancy Admin Settings
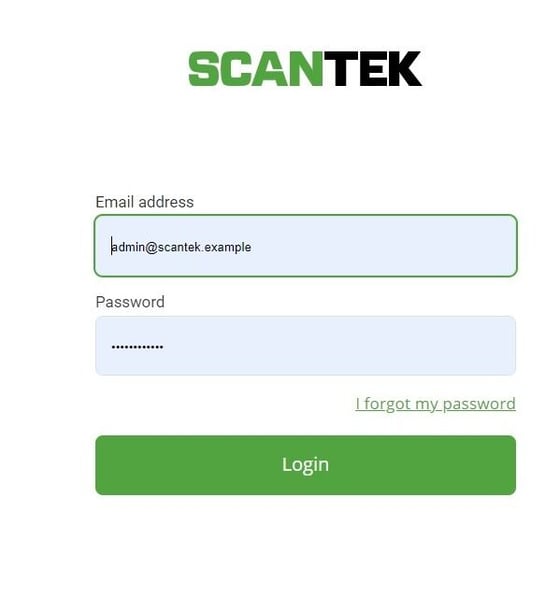
1. Navigate to https://portal.veqld.scantek.cloud/account/settings
2. Enter your login details and click "Login"
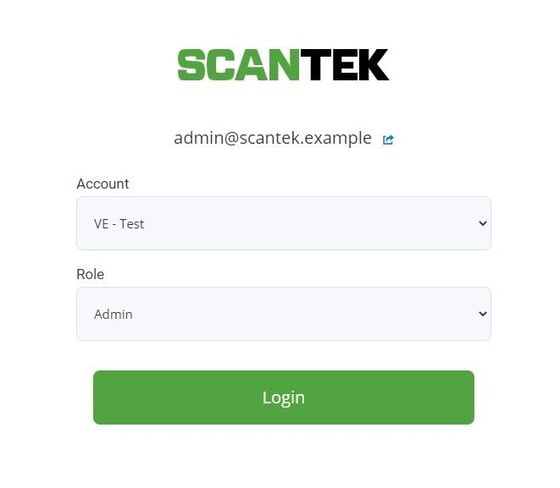
3. Change the role from "Admin" to "Tenancy Admin" and click "Login"
Creating an account
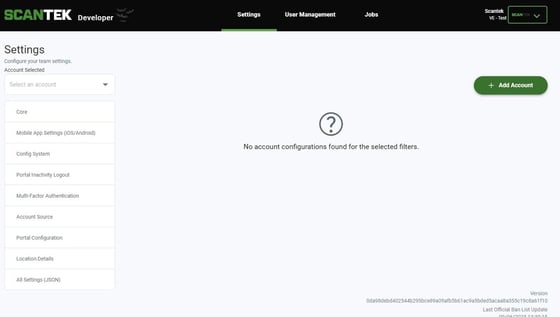
4. On the settings page, click "Add Account"
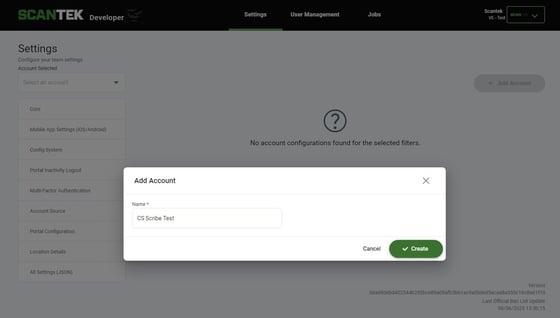
5. Enter the name of the venue and then press "Create".
6. In the "Account Selected" box, search for the Venue Name you just created, and click on it.
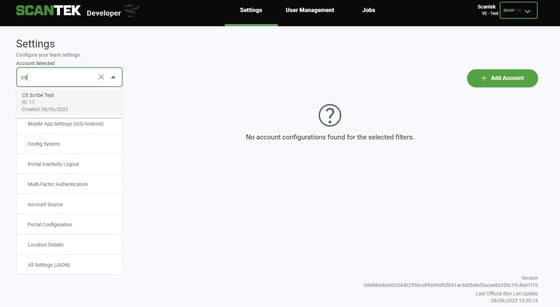
Alert: Alert! (12/06/2023) there's a bug in portal where the account name may not be immediately available, they may have to click user management and then back to settings and it should be there
Setting the OLGR Site Number
7. You will now be on the Venue Settings page. Click "Add Entry" and select "OLGR Site Number".
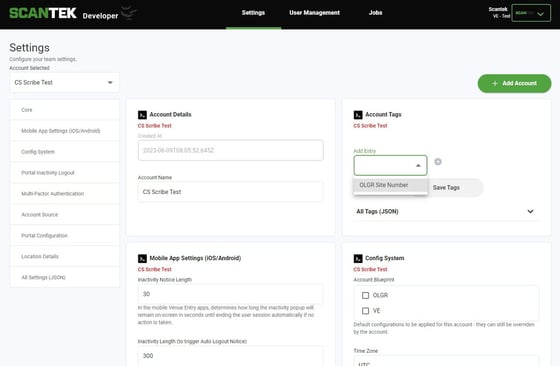
8. Press the + icon to add this Entry Box.
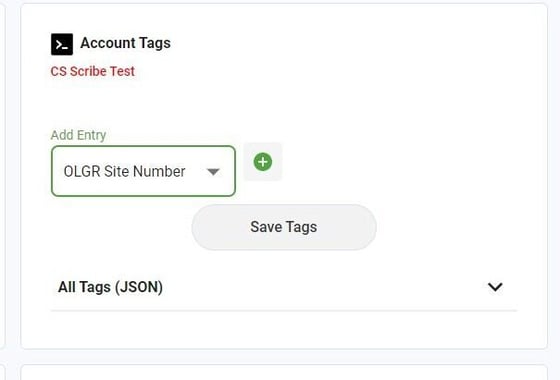
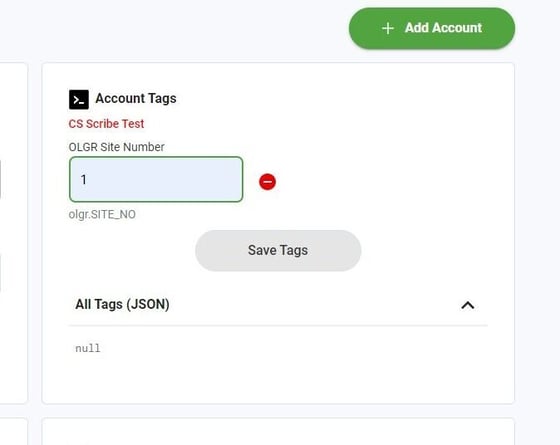
9. If you expand the All Tags section, you will see that no OLGR site has been added.
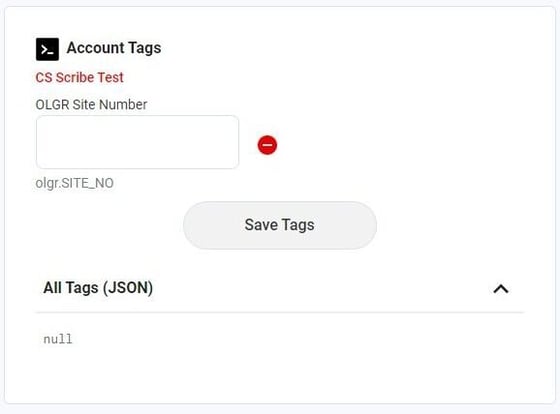
10. Enter the site number you have for this venue. This will be on the Onboarding form. Click "Save Tags"
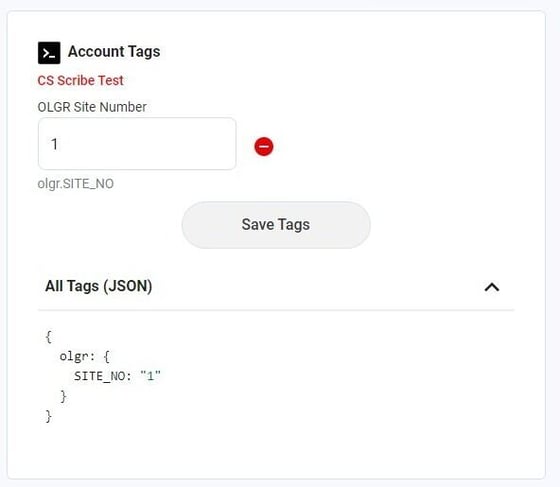
11. You will notice if you expand "All Tags (JSON)" that the tags have been updated.
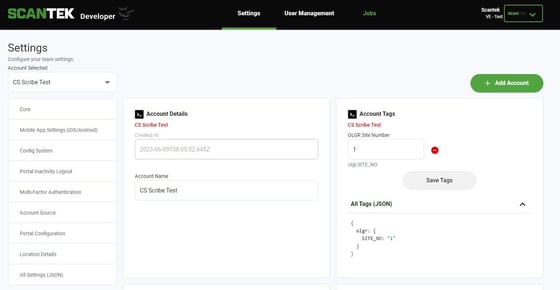
12. Now we need to Sync with the OLGR Server to get the site information! To do this, Click "Jobs"
13. Click "Run OLGR Site Synchronization"
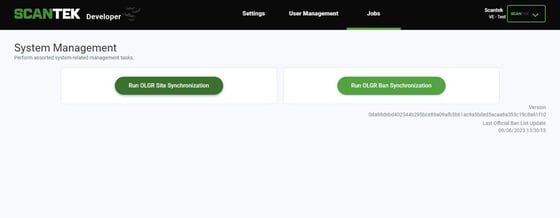
Alert: Alert! This will only run once every 15 minutes. If you press it more than once in this time, you will get an error message.
14. Navigate back to Settings and find the Venue you are working on in the "Select an account" field.
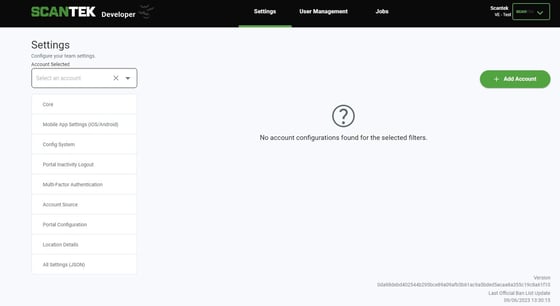
15. When the All Tags (JSON) is expanded now, you will be able to see all the OLGR information.
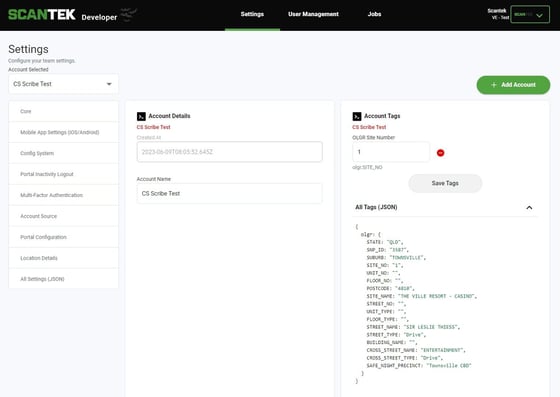
Configuring the Venue Settings
16. In the Config System box, under Account Blueprint, select OLGR
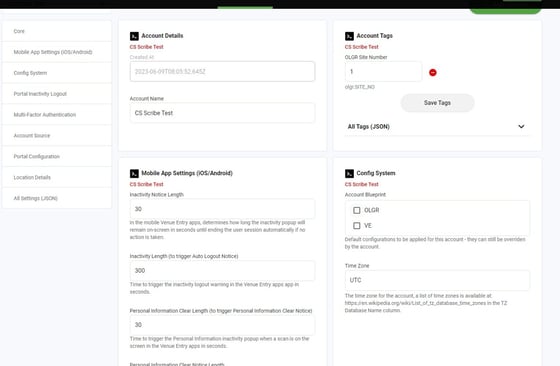
17. Change the Time Zone to the Venues location. In Queensland, this will be XYZ
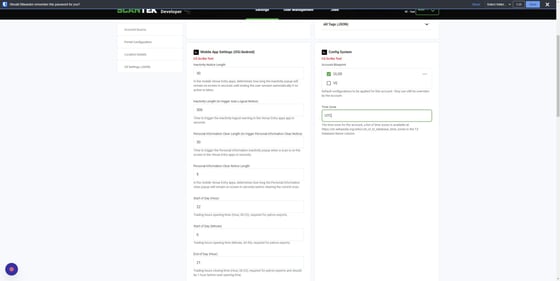
18. Change the Start of Day and End of Day sections to when the Venue operates from.
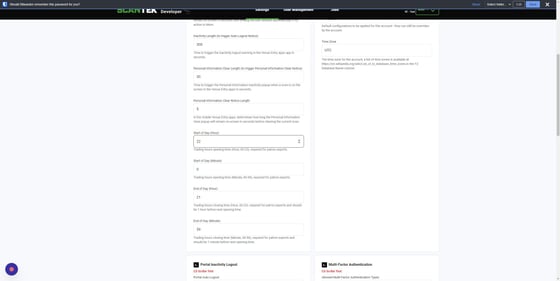
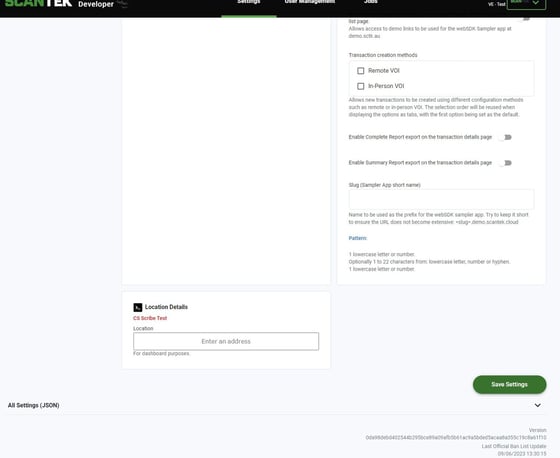
19. Click the "Enter an address" field and enter the Venues location
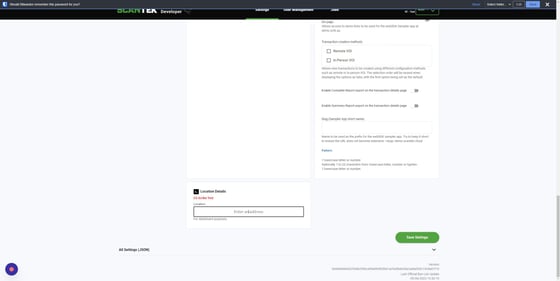
20. Click "Save Settings"
Adding the Users!
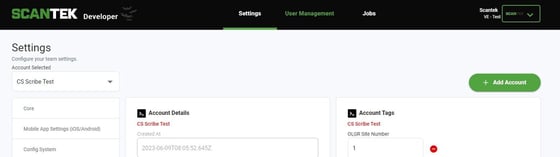
21. Click "User Management"
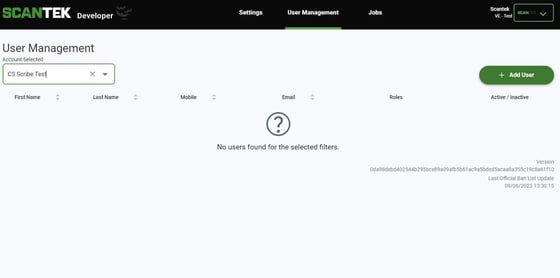
22. Find the Venue that you have been working on.
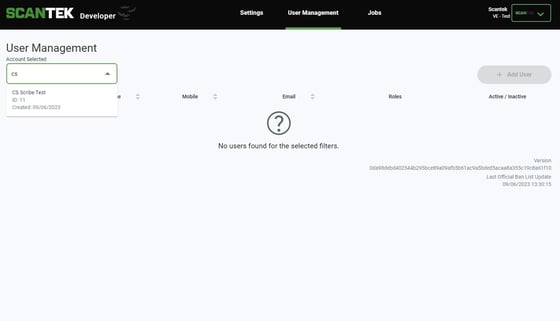
23. Select "+ Add User"
24. Click "Create User"Please enter the Users information and then provide them with a role. Once you are happy with the data entered, click "Create User".
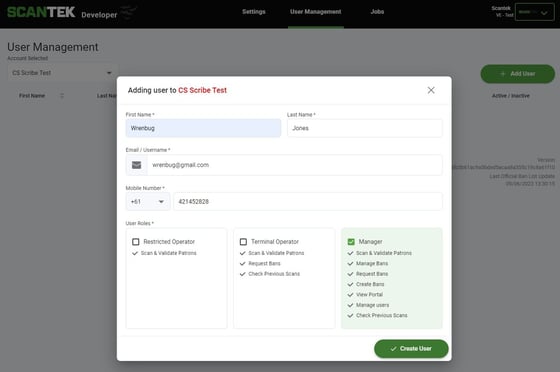
Tip: Tip! You can have the same User against multiple Venues and in different roles. They can all use the same email address too! The system will remember which venues a user is registered at, rather than a user only being able to be registered at one venue.
Assigning an iPad to the Venue
25. In a new tab, navigate to https://scantek.jamfcloud.com/
26. Click "Devices"
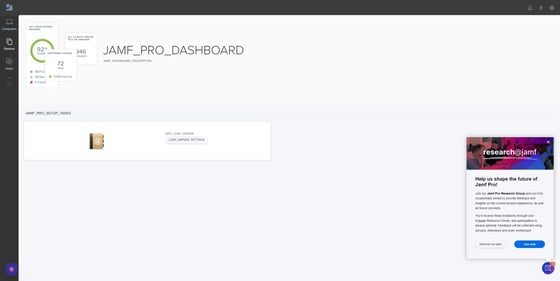
27. Click "All ipads"
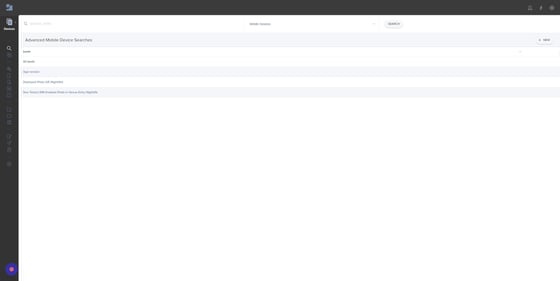
28. Search for the Serial Number of the iPad you are going to set up.
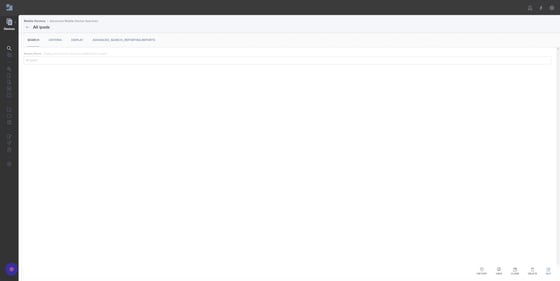
29. Click on the iPad Name to access it's settings.
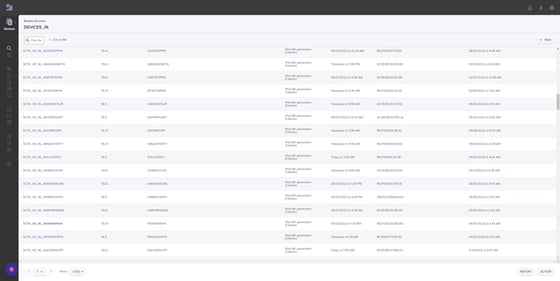
30. Once in the iPads configuration settings, hit "Edit"
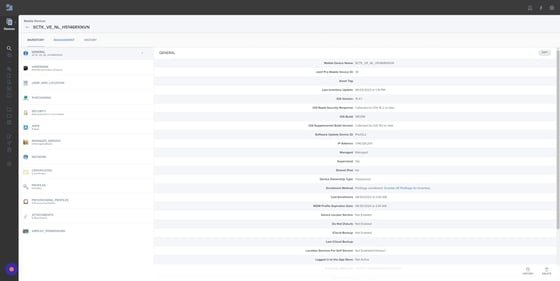
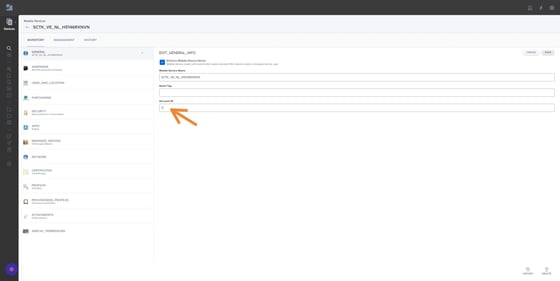
31. Here you will need to enter the Account ID Number. To get this, you'll need to head back to the Portal.
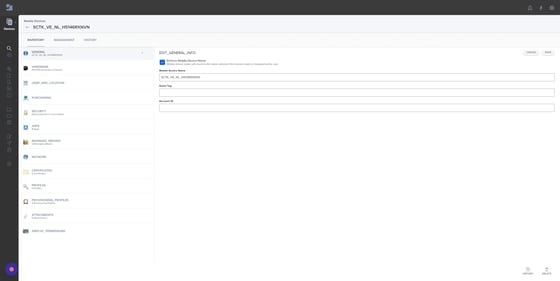
32. Search the Venue you are setting up. You will see the ID listed under the name. This venues ID is 11.
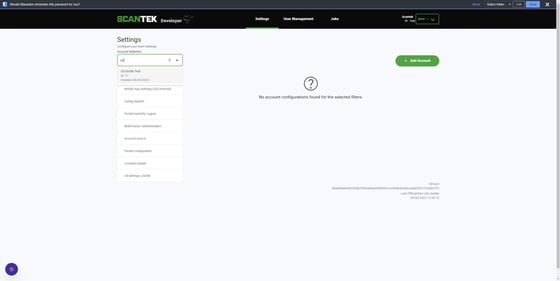
33. Enter the Account ID number and then press "Save"
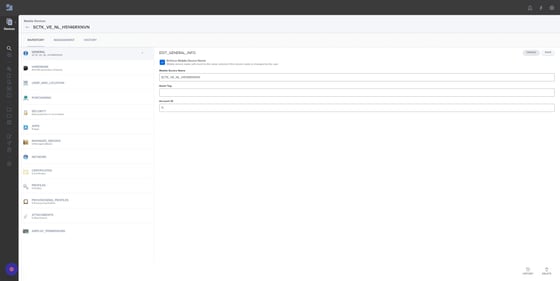
34. Click "EDIT"
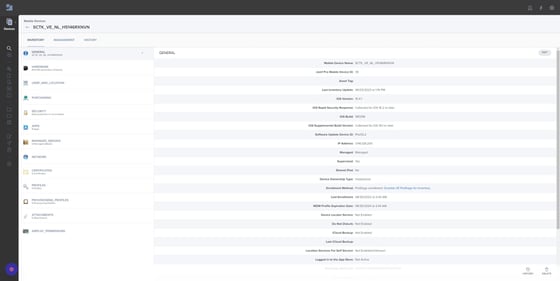
35. Click this button field.
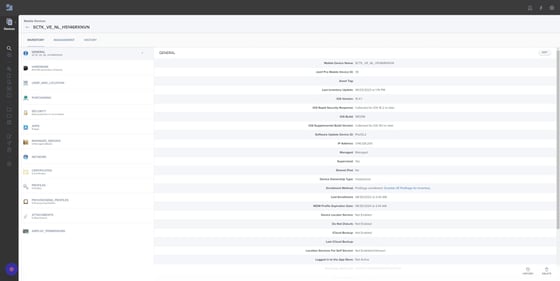
36. Click "USER_AND_LOCATION"
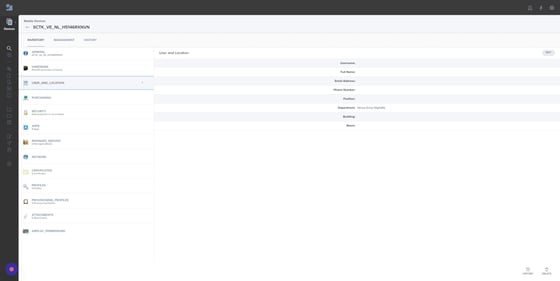
37. Click "EDIT"
38. Click this dropdown.
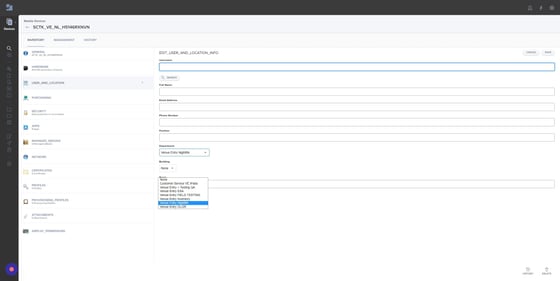
39. Click here.
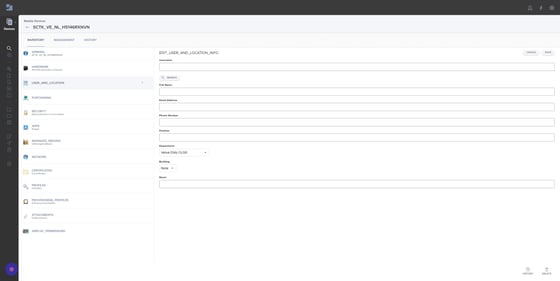
40. Click "SAVE"
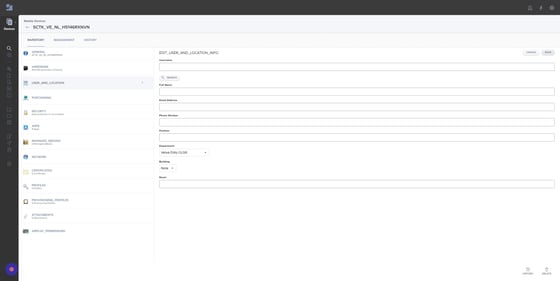
41. Click "HISTORY"
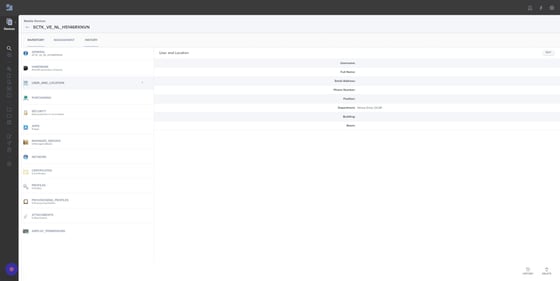
42. Click "8 Pending Commands"
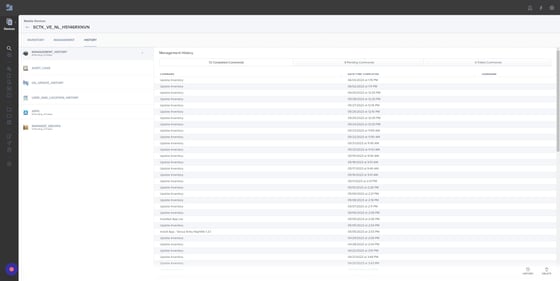
43. Click "Remove App - Venue Entry Nightlife 1.2.1"
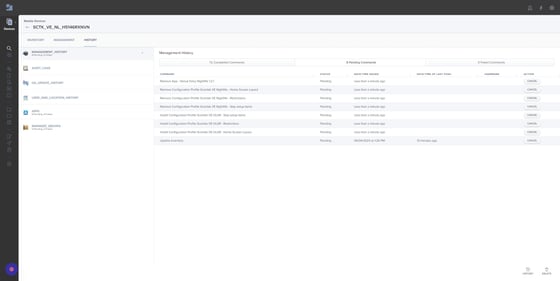
44. Click here.
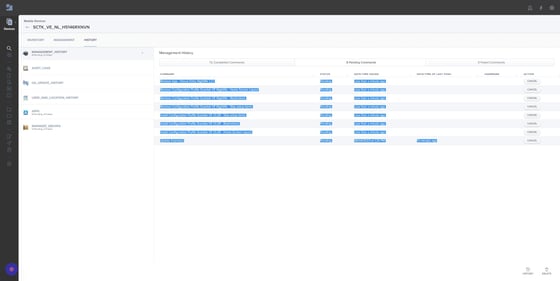
45. Click "72 Completed Commands"